
Van Conversion: Ceiling, walls, floors & DIY fails.
Everything is coming together, right?
As you can tell, we are not builders. A lot of what we did was trial and error & then having to work around that error because building materials in London are so DAMN expensive. But you know what, I think we did OK. Once we ran out of Thermo Fleece, we put up and sealed the moisture barrier around that section and then thought f*** it, let’s try and put up our ceiling. So we did. We had already bought a heap of 10mm ply board for our ceiling and walls - again, we wanted thicker & stronger, and I am so glad we did this even though it cost an arm & a leg. We cut some pieces to size, drilled them on up & all of a sudden we felt like we had a roof over our head. It’s funny, we had been working so, so hard since we bought the van, but this was the first time we both felt like we had really achieved something.
Had I mentioned that we had been working on the side of the road outside our London flat? We had no work space and barely any access to power tools, which was driving Cam absolutely mental. This was one of the hardest things for us as we had no where to store our tools and we had to pack up and park the van at the end of the night every day. We finally managed to wrangle a power saw from a friend for 3 days and so we went like a bat outta hell to try to measure & cut all the pieces we would need. My job was to measure and draw out each individual piece we needed on the pieces of ply board, taking care to utilise the most space possible and then Cam cut them. It was SO fiddly, especially the pieces around the wheel bases. We also had to be very careful not to puncture the moisture barrier seal or there was absolutely no point in having it, so we carefully screwed all the pieces into the wood we had already put up. We probably put a few too many screws in but at least we know it’s sturdy!
After we finished the back section we decided to install our wooden flooring. For the back section under the bed, we just used the same ply as we had used for the walls & for the front we used proper wooden floor boards. We got given 2 leftover packs of tongue-in-groove flooring from a friend’s renovations & I was so stoked because they were real wood and very pretty. We had to cut each piece down to size and work out how to fit them in around our diesel heater which was already attached to floor, then we pulled them back up, glued along the joins and re-fitted them. Voila - we have a floor & she’s a beauty!


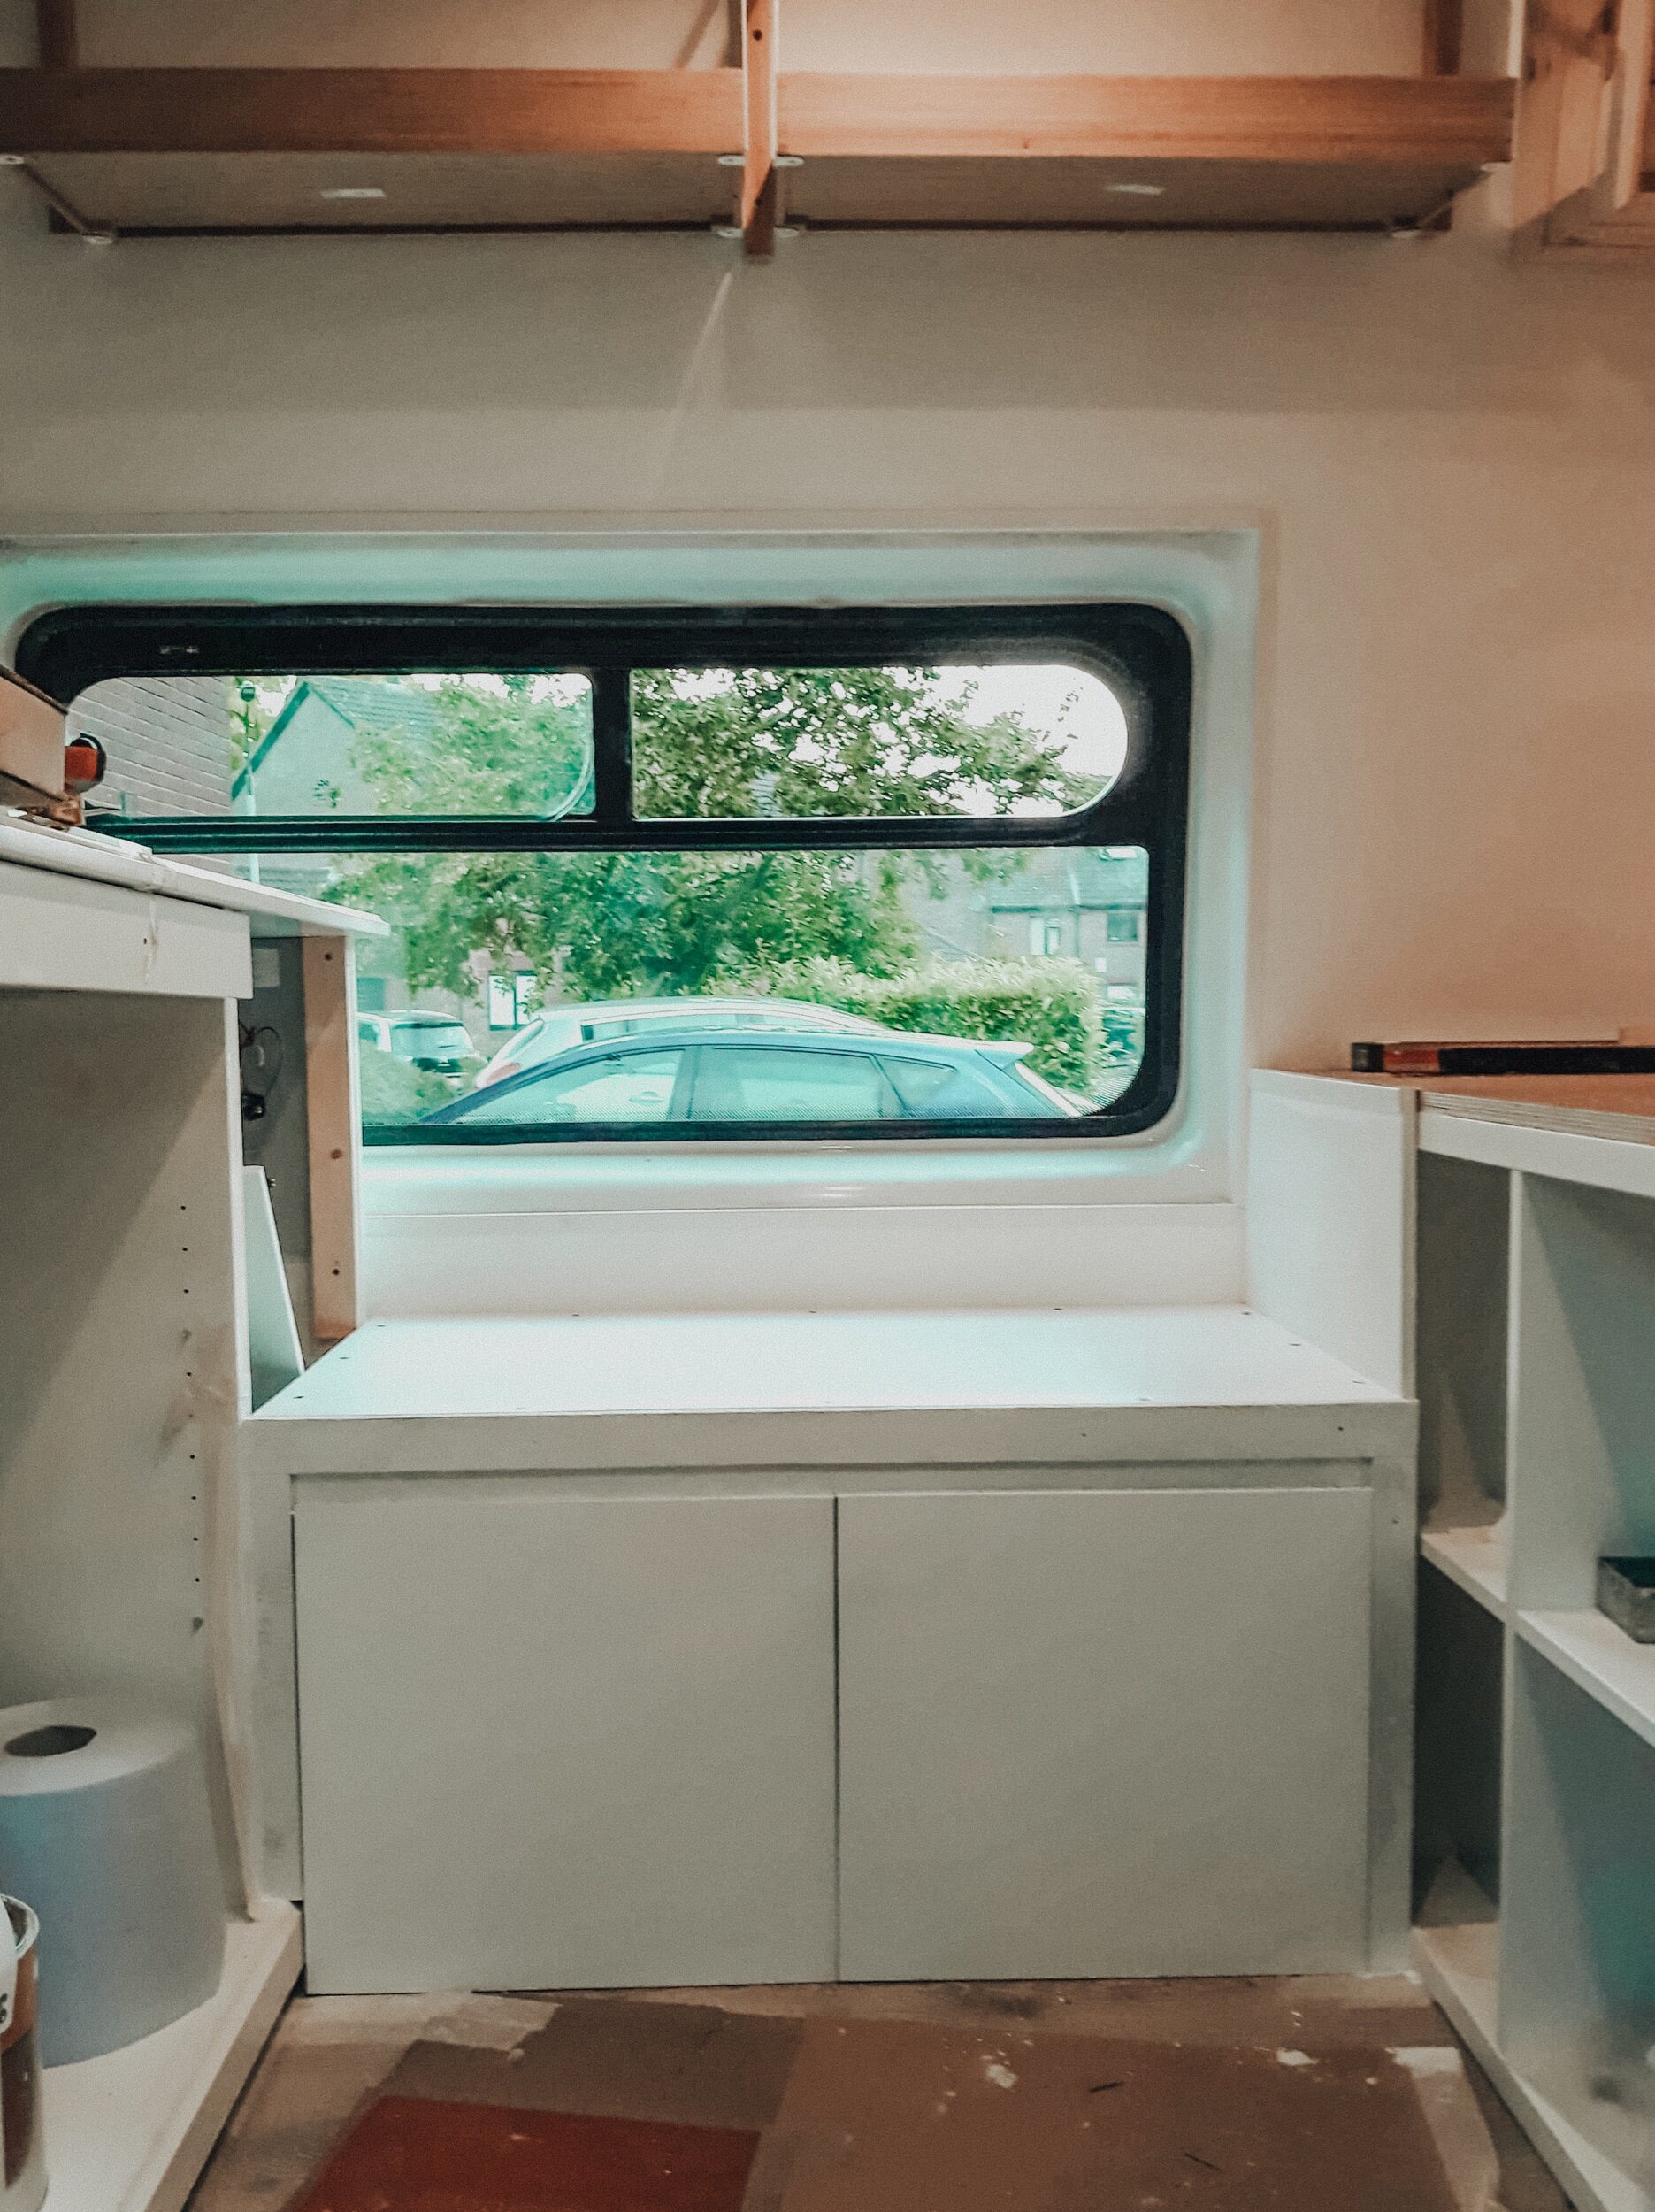
On one of our numerous trips back to the hardware store we drove past a white cabinet on the footpath in Fulham, just down the road from our flat. We had a very quick chat, which led to an illegal u-turn in our hefty sized van and parked up right beside it. It ended up being almost the exact height, length & width that we were looking for in our kitchen bench - what are the chances! While we were checking it out we found a business card from the Coromandel inside the top drawer & we figured it must have come from another kiwi’s flat - so if you’re reading this and you recognise it below, thank you very much! We lifted it easily into the back of our van and drove away with our ‘new’ kitchen feeling pretty good. Once we got back to our place we removed the glass doors, added one shelf back into the middle section and re-attached the handle to the drawer. We also discovered that luckily the crates we were going to use for kitchen storage fit perfectly onto the shelves, and it was also the perfect size to slide our fridge into. Finding this bad boy was definitely a win for us & it worked a treat.


Cam is a stickler for professionalism & having never done any building before, he didn’t like the look of the gaps between the walls and the holes where the screws were, so he decided he wanted to plaster them. In theory this would have worked perfectly, but he was a bit gung-ho and used too much, figuring we could sand it back the next day when he borrowed an electric sander. All I can say is, we tried really, really hard but she’s a bit patchy in places. We spent about 2 hours trying to sand it all back & it ended up with a neighbor telling us to shut up and me in tears (again). Definitely a DIY fail - learn from us in this instance and go with less is more when it comes to plaster! Eventually during lockdown we attached some flexible wooden planks over the worst of the patchy spots on our ceiling and walls. I lightly painted these white and I think they ended up looking really beautiful.
Speaking of paint - I was painter extraordinaire for the build. I did a coat of acrylic primer undercoat followed by three coats of paint using acrylic eggshell in brilliant white. We used acrylic paint as it’s fast drying & better on wood surfaces - it’s also easy to wipe down if it gets dirty. I started my first coat at about 6.30am when Cam went to work and had the last coat drying by about 11pm that night. I just realised I didn’t take a photo of the finished product (it was dark anyway) but there’s a few photos of my progress after my first coat of primer & paint. She looks a bit patchy in the photos below but after three coats it was glorious.


I had booked a last minute trip back to New Zealand for 10 days & the timing couldn’t have been worse. I was leaving Cam alone to do most of the internal structural elements by himself, like our bed base, the drawers beneath it, the couch and of course, the electrics. I felt terrible so I made sure we did something fun together before we left. The morning of my flight we went to IKEA, both of us for the first time. I had already found a few things online which I thought would be perfect but we wanted to walk around and get ideas. We were there for four hours (!!!) and we came out with a very full trolley and empty wallets. We bought a range of items; a few wall shelves, some small & large wooden crates and an eight cube cabinet, among other things. The cubes were going to become the end of our bed base and I had this vision to use mismatched woven baskets for storage for our clothes, toiletries etc. (I actually love this part of our build so much).
I left that night and Cam spent the next ten days building the inside of our van. He custom built the bed frame using some more timber, a lot of brackets for extra support and the IKEA cubes we had bought formed the end of the bed. He then built two very large drawers that pull out from the back of the van under the bed. They were installed onto heavy-duty slide runners which we bought off Amazon. Both drawers can be taken out individually to access extra storage space at the back for things like a spare tyre, our travel packs, wine (hehe) and a few other things like tools.
He then built our two seater couch with enough space for two cupboards below for extra storage and then primed & painted all the new wood he had cut and used. While I was away our Thetford Porta Potti arrived and Cam cleverly built a wooden base with wheels for the toilet to attach to, so that we can easily roll it in and out from underneath the couch. I make all of his work sound easy but it definitely wasn’t. It took him the full ten days I was away whilst still working full time and a lot of video calls from me (which according to Cam were no help at all and very distracting!) to complete all of this work. It made us extra glad we had found our kitchen cabinet and didn’t have to build that section of our van too. By the time I got back from NZ, the inside of the van was starting to look like a tiny home, we had light and power & I was so, so happy. Cam is a champion and I am so lucky that he took everything I wanted the van to look like & literally built it himself. I got myself a keeper!


When I finally got back I was itching to help and get to work. Cam still had a lot of small things to finish off which he was happy to tinker away at, so I got stuck into building a lot of the IKEA wall shelves and the crates that we had bought. We had ordered a campervan sink kit of Amazon (which came with a 12V water pump so we could have running water) and so I very carefully measured & cut a very large hole in the top of the kitchen bench for the sink to fit into (I was so nervous). The plan was then to fit our (very expensive) Dometic fridge in under the sink, but with all the plumbing underneath it the fridge could only just fit and we could barely lift the lid up - mares. We bought another plumbing part for the sink which Cam was certain would work (it didn’t) and we then had to call on our mate Rob (who is a plumber) to come and give us a hand. Luckily he had exactly the part that we needed & he helped us properly install all the sink parts. We had two heavy duty 10L water containers, one for fresh water and the other for waste water, which fit perfectly in the spaces we wanted them. We then also bought a 20L container for extra fresh water storage and this system has worked a treat for us. If we were to do a build 2.0 (watch this space - we are!) we would definitely get much larger fresh & waste water storage containers.
Once I had put most of our shelving up, we had our sink connected and almost all of the build finished, we headed back to IKEA to buy all of the things that make a house a home. We bought cushions, kitchenware, curtains, linen, baskets & other things we thought we would need, plus a few house plants and decorations to keep me happy! This trip was so fun - I was like a kid in a candy store and Cam got swept up by my excitement too. We had to do a final cull at the check out because we had gone slightly (a lot) overboard but we came out with some lovely things to finish the interior of the van off.
Our plan originally was to buy a foam mattress from IKEA and cut it down to size but the store we went to didn’t have any and they couldn’t deliver one to us before we had booked the car ferry… This was definitely an error on my part - learn from my mistakes and never leave such an important part of your home to the last minute. We desperately needed a mattress and so after a lot of Googling, a week out before we were due to leave the UK, I ordered a custom built memory foam mattress from an online foam specialist store - & cue panic while we waited for it to arrive. Thank goodness it finally arrived - 12 hours before we were due to check into the car ferry!
To distract myself from my impending panic whilst we were waiting for the mattress to arrive, I cut and hemmed the curtains which were going to be hung in between the drivers cab and our living area. We also installed the black-out blinds onto both windows - these have been a great buy by the way. We slowly moved in all our stuff the day before we were leaving (as we didn’t want to leave anything in the van overnight in case of break ins) and then we slept in the van for the first time in a car park outside our flat in London - living the #vanlife dream!


When I wrote this we had been on the road going on eight months and it had really been the dream. Even so, there is always work to do on your conversion and general upkeep is a constant thing. We were constantly tinkering with and trying to improve our conversion, even if it was tightening up latches or cleaning the inside & outside of the van. There was always a job to do but we wouldn’t change it for the world. You have such a sense of freedom on the road and it is the most incredible feeling parking up in the middle of nowhere in Europe and feeling like you have your own patch of home right next to you. Waking up with the ocean on your doorstep or driving to a new location whenever you want is exhilarating and what we have done is something that I would recommend to anyone. Cam and I have spent this time literally living on top of each other in such a tiny home, especially during the colder months. Of course we have had a few fights but we have never gotten sick of each other and it has actually brought us closer together. I wouldn’t (and couldn’t) have done this with anyone else.
I hope you have found this conversion story helpful - or at the very least, entertaining. As always feel free to message me about anything conversion-related. This isn’t the end of my van posts either. Keep an eye out for some more information about some of our favourite spots we have stayed at across Europe and the UK and some more basic conversion guides.
Thanks so much!
G xx