
Van Conversion: Choosing our van & gutting it.
Welcome to my first proper post about our van conversion... Before I really get into it I need to say that what Cam & I did was absolutely insane in the time frame we gave ourselves and I would not recommend anyone to put themselves through what we went through! In saying that though, it was an intense six weeks that was ultimately SO worth all the blood, sweat & tears (from both of us, but mainly tears from me - I am such a cry-baby).


I see so many conversion stories that preach about the importance of having a rock-solid plan, hours of research behind them and a fool-proof measured layout of what they want to happen inside. Whilst we researched a TON about all things conversion-related, I do have to admit that we really didn’t have a concrete plan set out. We kind of just threw ourselves in head first, and that totally worked for us, but it also may not work for others. I can talk about all things insulation, ventilation, various screw types, different types of wood, the best type of paint to use, tongue-in-groove flooring, storage & I could go on but I think you get the picture. I spent hours online researching van conversions. There are so many misleading internet sites and blogs out there; some get way too technical (who wants to read a post which turns into a physics lecture about radiation, convection and R-values - ain’t no-one got time for that!) and others are so basic that you wonder why they even bothered. BUT, in saying that, hopefully after reading this conversion story you can at least use what we did to help you in some way.
First off, choosing the type of van you need for what kind of build you want to do. We spent WEEKS trying to find a van that was right for us and within our budget. We originally didn’t want to spend more than £4000 on our van pre-conversion, but quickly realised that to get a van which had low miles, wasn’t completely ancient and in good nick on the outside (ie. no rust) we had to increase our budget a little bit. We had spent 3 months living out of a Toyota Previa (aka. soccer mum car) whilst we road-tripped around the States in 2017, so we had a really good idea of what we wanted this time around. Our main needs were: a van that we could stand up in, Cam wanted a bed long enough to fully stretch out in & I needed storage for a decent toilet option. I still have nightmares about the many dubious locations I had to pee in around America (pls don’t judge).
Ideally I would have loved to have had the budget for a Mercedes Sprinter van, however we ended up going for our second option of a Ford Transit with a high-top & long wheel-base. Fords have a reliable engine & are generally cheap to fix if you (touch wood) have any issues. Plus, they drive well up to and over 400k kms, which is so necessary when you are planning on clocking up the miles of travels!
Our van was an ex- London Railway Service van which meant it had a good service history, was in good condition on the outside & had low miles (just under 90k). It was also a 2011 model. All up, we paid £4750, which was literally the lowest priced van we could find that fit our search criteria. We searched high and low for vans all across the UK; using heaps of different sites such as Facebook Marketplace, Gumtree UK, AutoTrader and I still want to pull my hair out thinking about all the hours we spent doing this.
We also looked into (albeit very briefly) vans which had already been converted or were in the process of being. I quickly ruled this out as an option as I had such a fixed idea of what I wanted our van to look like that I thought we should start from scratch. Cam was more open to this and now that I think about it, it’s probably (definitely) because he had a much more realistic idea of how the next few weeks were about to go… but more on that later!


Once we decided we wanted to purchase the van, we quickly discovered how extremely annoying buying a vehicle in the UK is. Feel free to skip this paragraph if you are not buying a van in the UK (unless you are enjoying the read & then by all means keep scrolling to read more about hideous English bureaucracy). Basically, you have to have paid your road tax, re-registered the vehicle in your name & have full vehicle insurance - all before you can even get in the car to drive it away. This was a major headache because to pay the vehicle tax and insurance, you have to have the vehicle registered in your name already. This means you literally can’t do ANYTHING until the day of the purchase - except organise the best insurance company to go with. After a lot of research, we decided to sign up with HIC Insurance because we could tailor our needs to the quote & they were actually quite reasonable prices (feel free to contact me for more info on this). So, on the day of purchase poor Cam had to catch three trains and two buses out to the van location while I manned the computer & finances back home. Once he let me know the van was registered in our name, I was able to process our road tax & call and pay for the insurance - talk about added stress to an already stressful situation! THREE hours later, Cam could finally hop into the van and drive the two hours back into London. We were now the proud and extremely terrified owners of a 2011 Ford Transit, high-top, long wheel-base van!
There were some negatives about our van, some of which we only realised once we had bought our new bebe. Firstly, it was huge; not RV huge, but still the biggest vehicle Cam or I had ever driven and it definitely took some getting used to (I can’t imagine how freaked I would be if we ever decided to convert a bus!). Driving around the busy & narrow London streets was seriously scary for a time. Secondly, our van had been a rail network van for seven years and not only was it already decked out with paneling, shelving units and a mini-kitchen, but it was also absolutely, down-right FILTHY. We also discovered a few lovely holes in the roof metal once we stripped everything back, left over from removing old rooftop lights.
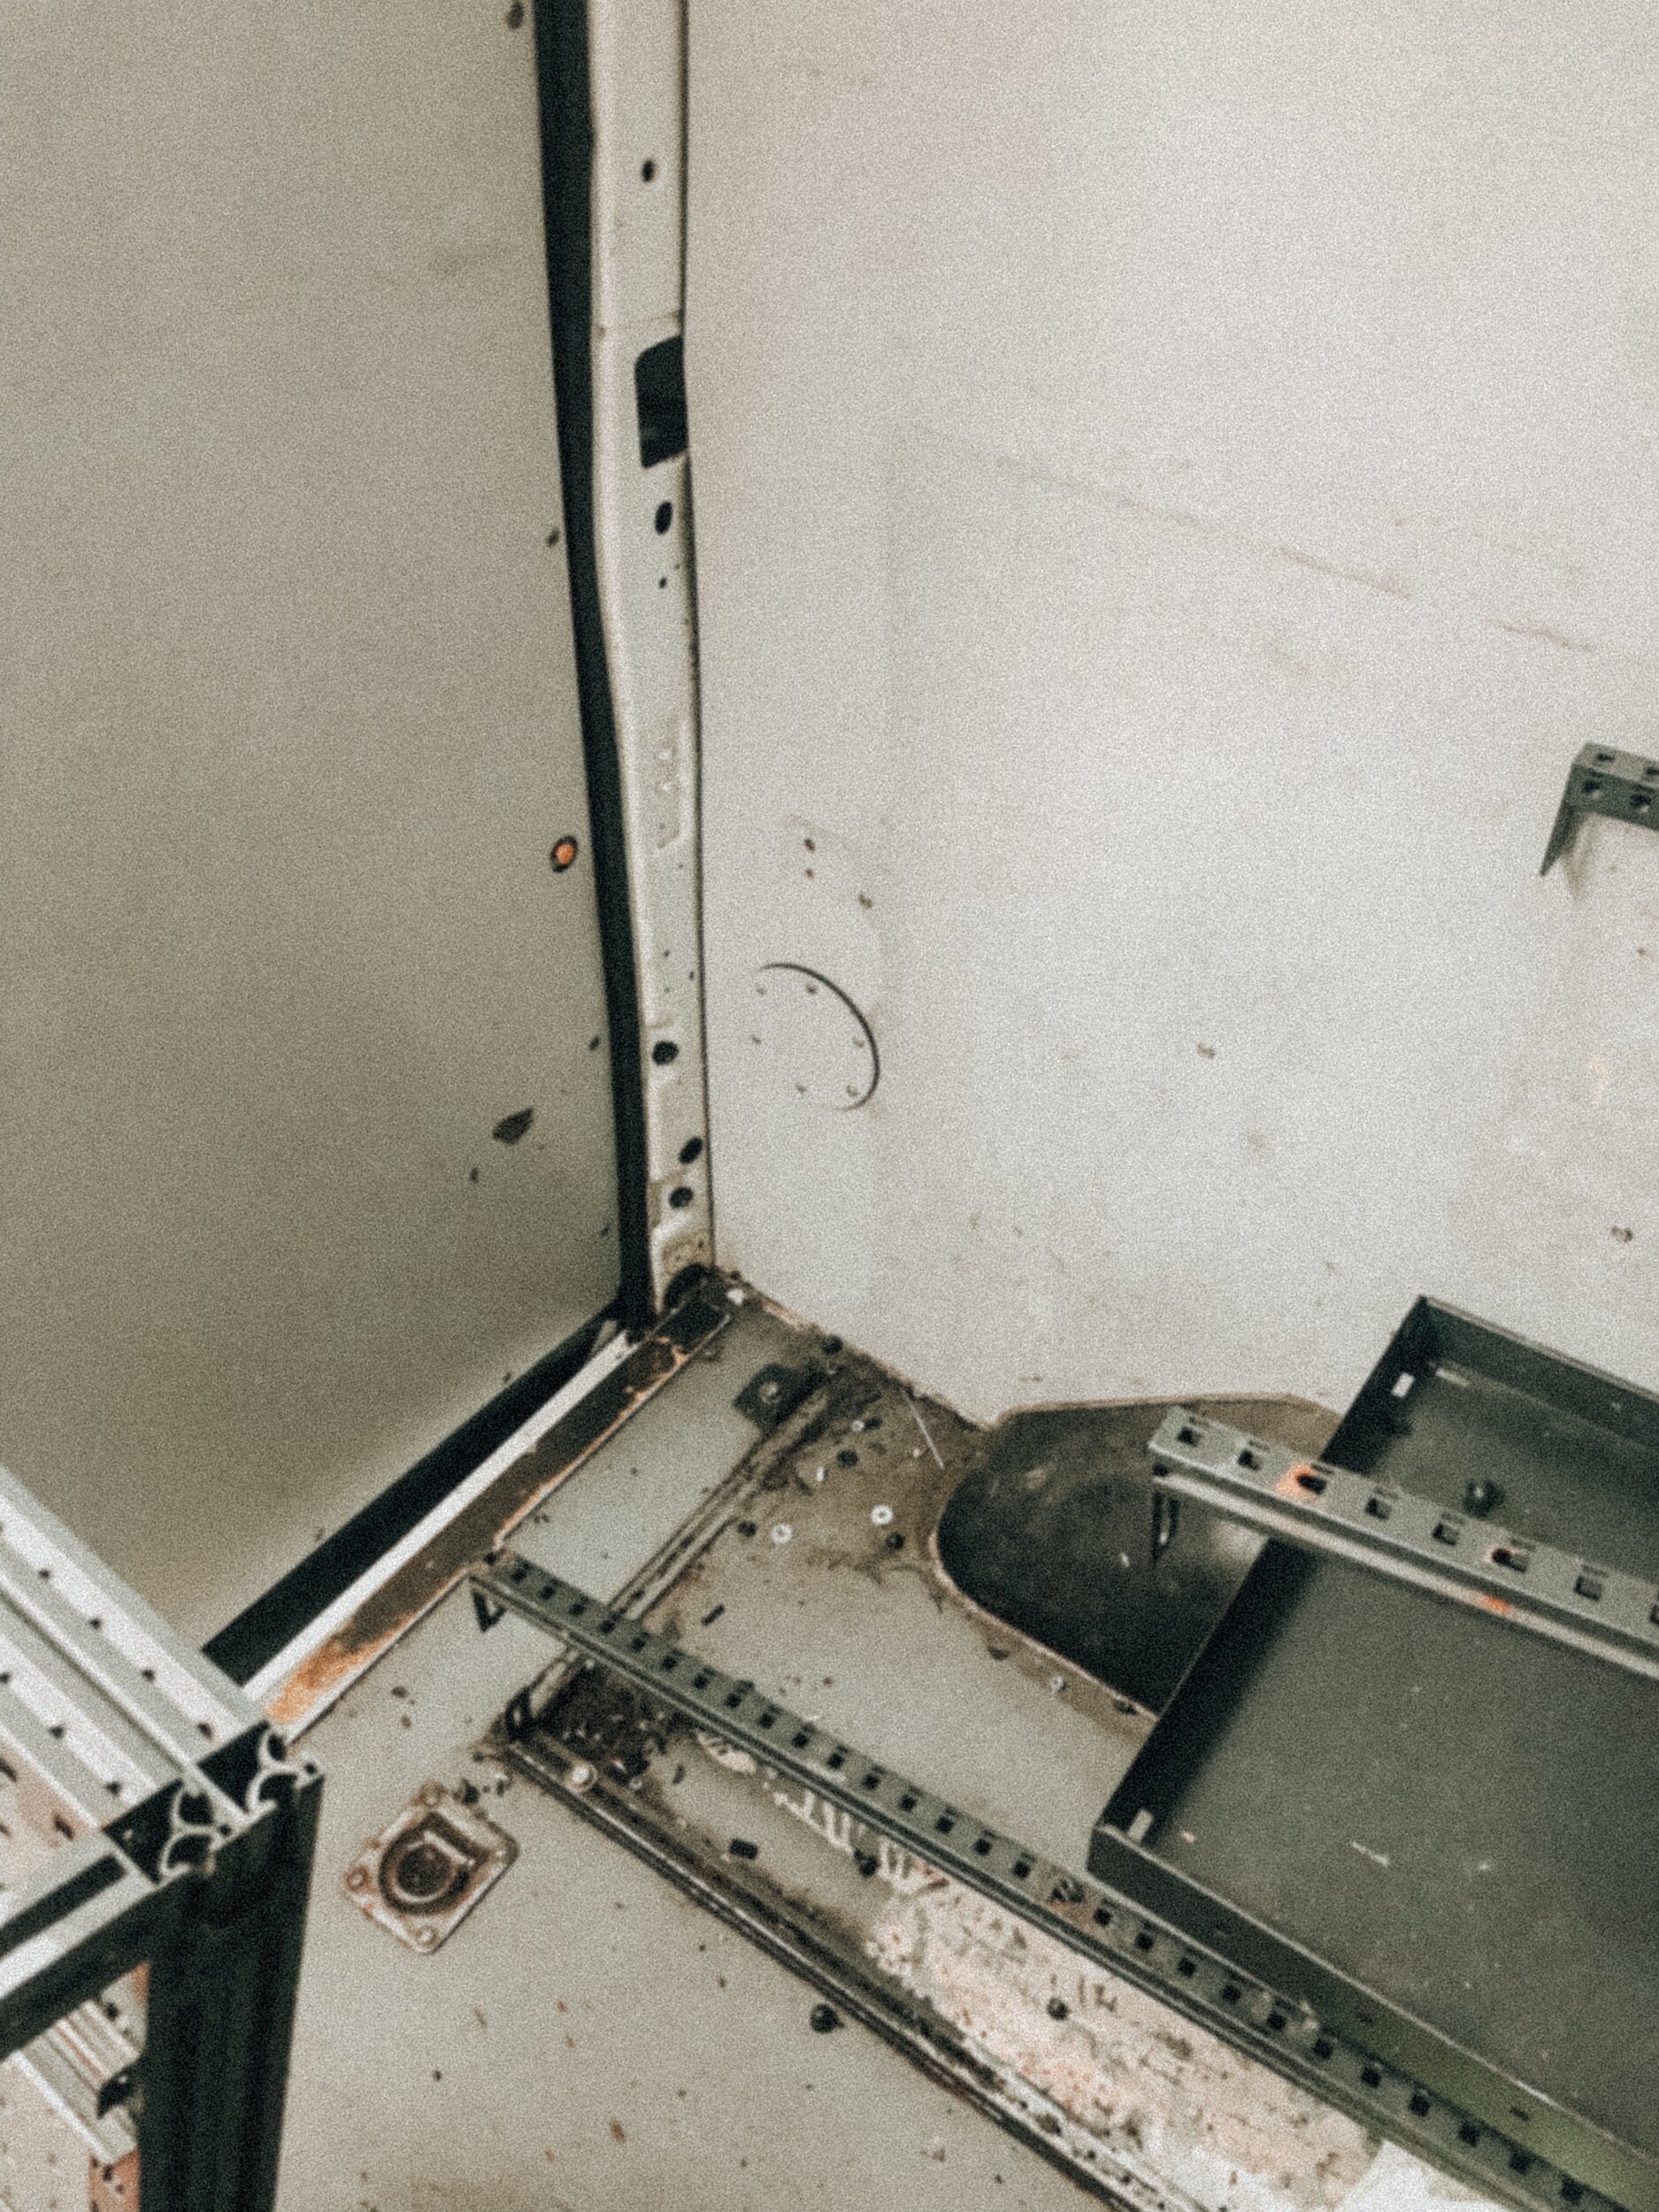
We spent four days removing everything from the inside of the van & I am not being dramatic when I say that it was one of the hardest things I have ever done (even including the whole conversion). We discovered the shelving units were bolted through some of the walls & through the flooring and had to be removed one piece at a time. Then, after spending three hours trying to cut down and pull out a partition wall, we belatedly and stupidly discovered that it was also attached through the external body of the van. This actually had a huge effect on our plans for the van, which I will go into more detail about in a future post. The seats in the back cabin were actually also bolted from the external body of the van into the inside & so Cam was under the van for a whole afternoon while we struggled to remove them. It was SO hard. Plus, everything was covered in a thick film of dirty oil and grease from the workers - gross. The first whole week of our conversion was spent removing everything and then fixing up & filling in the bolt holes.
We had to make sure we sealed the van to perfection from the outside elements and we ended up doing a fantastic job (if I say so myself). We patched up the roof holes using aluminium sheets & marine grade silicone to fix them down and seal them up. We then primed and painted them the same colour as the van exterior to finish them off. Lastly, I spent a day deep cleaning the inside of the van using an insanely good (and cheap) product to get rid of all the grease from the internal walls and floor. Not fun at all, but at least you can see the gleaming (haha) finished product in the photos for yourselves.
Cam then sanded back any rust we had found (bare minimum thank goodness) and we painted over the patches using a rust-inhibitive primer & then sealed it with two coats of Hammerite anti-rust paint. This was a step that we felt was very important & we meticulously looked over our van for any possible areas of rust (thankfully not too many). Rust (and damp or mould) are enemy number one on the road and it’s crucial to keep on top of this.
After we had pulled everything out, we then discovered how expensive (and difficult) it was to dispose of all these materials in London. It seemed that every rubbish disposal place in the city had a certain criteria which meant we couldn’t use it - some you couldn’t use a van to drop off your rubbish (so annoying) & others you couldn’t drop off DIY or building materials! Hiring a skip was going go cost an arm & a leg, which we almost had to do before a friend of ours told us we could go halves with his (thank gawd).
If you can, learn from us & buy a van with an empty shell on the inside.
It is so hard to explain what you should do & I don’t want to, because everyone wants different things for their conversion and no way is the ‘best’ way. So seriously, please send me a message about anything to do with conversions or van-life because I would love to help you as much as I can.


The next stages were all about buying (most of) the materials we thought we would need for our build as well as figuring out if the layout in our head would work with the space we had. Luckily for us, it did and so we boosted into the next part of our conversion: insulation, moisture barriers & cutting, shaping and fitting the walls and flooring. I will talk more about that in the next blog post because I think I have definitely rambled on enough for one day!
Feel free to shoot through any questions you might have and thanks for reading!
G x